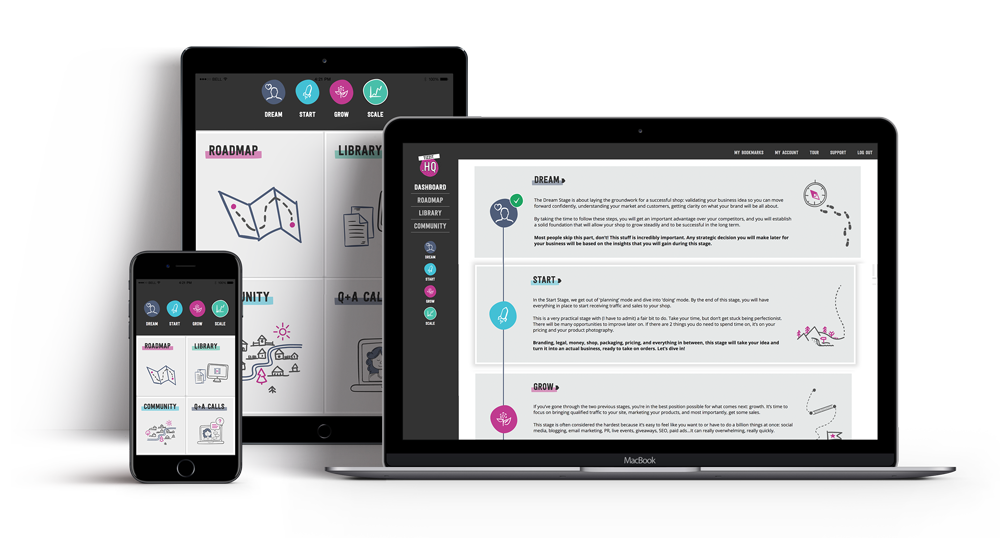
from dream to handmade biz

Lesson 9 – branding and packaging

lesson outline

    Logo
    1 – Simple typographic logo
    2 – Using Logo Bundles
    3 – Logo Generators

    Color Palette
    1 – Inspiration + Pre-Made Palettes
    2 – Color palette generators

    Fonts
    1 – Your logo font
    2 – Other fonts

    Print & Packaging
    1 – Print Design
    2 – Packaging on a budget

lesson checklist

  • I understand that at this stage it is NOT worth investing a lot of money in my branding and that KEEPING IT SIMPLE is key;
  • I have picked a method to create my logo from the 3 methods introduced and have started brainstorming/researching;
  • I have picked fonts for my brand;
  • I have downloaded and worked through the Guide to Packaging and know how I will create an unforgettable unboxing experience for my customers;
  • I have downloaded the Top Resources for branding and packaging guide;
  • I have picked a color palette;
  • I have completed my brand memo and have a “minimum viable brand identity” made of my logo + color palette + fonts.
 

need more help?

check out tizzit hq

WHEN YOU BECOME A MEMBER, YOU GET ACCESS TO:

  • The 4-stage Maker’s Roadmap system: an interactive, step-by-step guide to all the fundamental steps you need to take (and in what order!) to build a successful handmade shop
  • 20+ in-depth courses and guest expert workshops (and more added monthly!)
    Live Monthly Q&A Sessions
  • A friendly and supporting community of like-minded makers for you to connect with and get feedback from
  • And so much more: accountability, quick wins videos and tutorials, workbooks and checklists, etc.
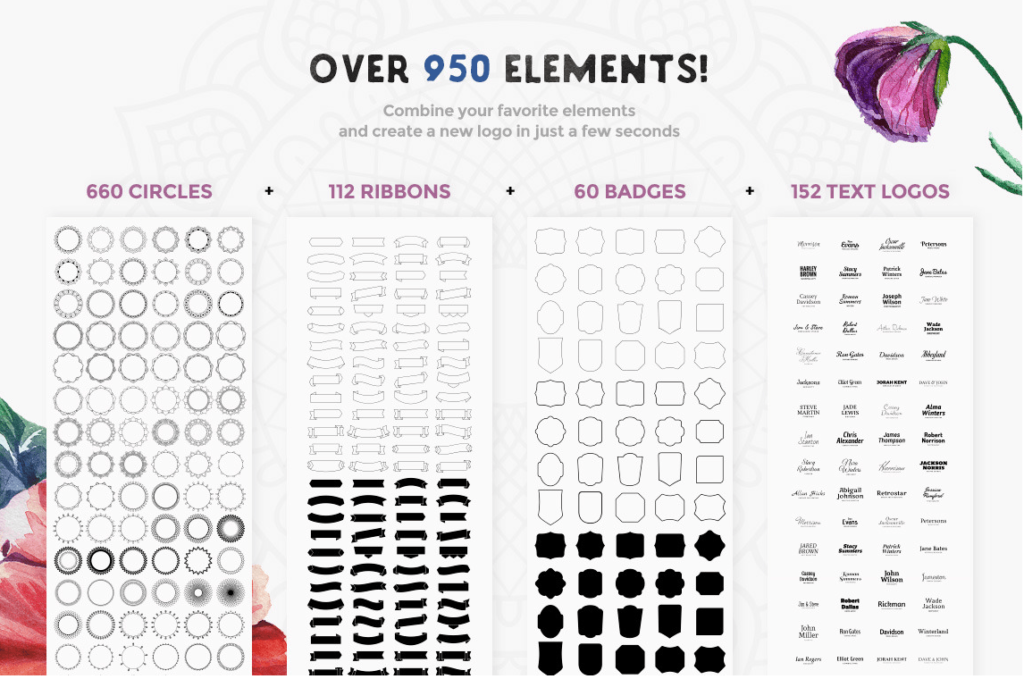
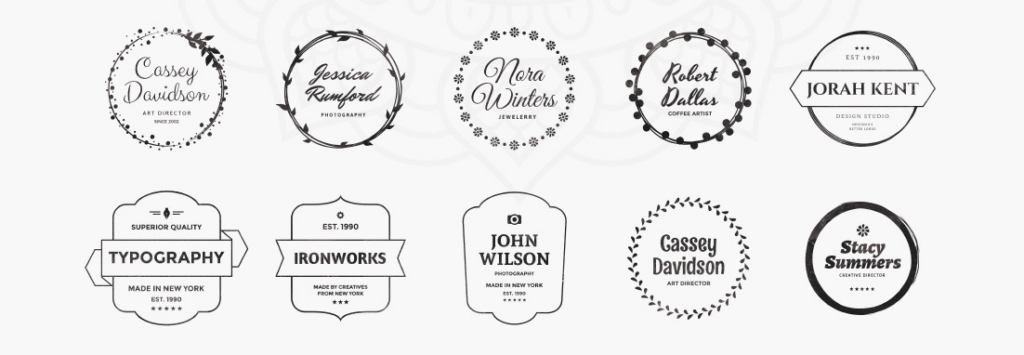
LEARN MORE

You’ve already done A TON for your branding without  even knowing in the first lessons, when you defined your brand vision, values, and mission statement but also when you defined who your ideal customer was.

These are all extremely important elements of your brand and can be referred to as “intangibles”. Today I want to talk about the other part of branding: the “tangible”, visual element: what your customers will directly see, touch, etc.

Logo

That’s a hot topic! Logo design is the number one thing that people think of when the word “branding” is pronounced. Consequently, so many of you are probably spending a lot of time trying to put together a “perfect” logo. And I get it. I mean it does feel like the epicenter of any brand right? Well, yes… and no.


1 – Simple typographic logo

A logo is only as important as you want to make it. If you’re only starting out, and you’re not a designer, you’re better off going with something really simple. A simple typographic logo with a pretty, professional font will do a much better job than a overcomplicated logo with too many colors, too many shapes.

Typographic logos are my #1 recommendation if you’re just getting started and have no graphic design skills.

You can always hire a designer to upgrade your logo later on, when you’re in a position in which you’re getting enough sales to afford it.

2 – Using Logo Bundles

If I didn’t convince you with my typographic logo option and you are still considering a logo with graphics/symbol/icon then I would recommend you use a marketplace such as Creative Market to find pre-made logo templates. Here you can search for logo elements bundle, put them together and bingo, you have an easily made and customised logo ready to go.

Creative Market is THE best marketplace for beautiful, high quality graphics for all your branding needs. Most of their files come in Photoshop or Vector format, so if you don’t know how to use these, here’s a quick tip:

Select a logo bundle or a graphic bundle you love (eg.: this mandala inspired one) from Creative Market. Their logo bundles usually come with a set of borders, fonts, symbols and graphic elements, making it quick and easy for someone who know how to use Illustrator or Photoshop to put a unique logo together. Pick a border you like, a font, and a couple of graphic elements from your bundle and head over to Fiverr to find a graphic designer that can help you put together the elements you chose.

Eg.: With this logo pack :

Pick your elements from hundreds of choices:

Then ask a Fiverr graphic designer to put the one you chose together for you and you could get a logo like these:

3 – Logo Generators

Lastly, you can use a logo generator. These will let you create a logo online in a matter of minutes. Although they are really simple to use, I wouldn’t recommend them highly because they tend to make your logo look a little bit outdated. The fonts on offer are often very limited, and the graphic elements are simply free icons that you could find anywhere on the internet, making your logo look a little bit too similar to others.

Color Palette

Your color palette is as important as your logo, if not more. It sets the tone, the vibe, the mood…Your color palette is everything!

The best thing is that it’s also free. The only thing you have to invest in here is your time researching and finding inspiration for the perfect palette for your brand. Remember to go back to your Ideal Customer Profile and yourGet Brand Clarity workbook to be sure to select a palette that will attract the right customer to your handmade shop and communicate your brand story.


1- Color Inspiration + Pre-Made Palettes

First thing first, a little bit of color theory. I won’t get into it too deeply in this blog post because:

1- there’s no need for that.

2- it would turn this blog post into a book and we don’t want that 😉

But, what I will say though is that having a little bit of knowledge in color theory can help you decide on what will work best for your brand. Here are 2 fun and easy to understand resources on that topic:

For color inspiration, be sure to check out Coolors color schemes or to explore Adobe Kuler themed palettes.


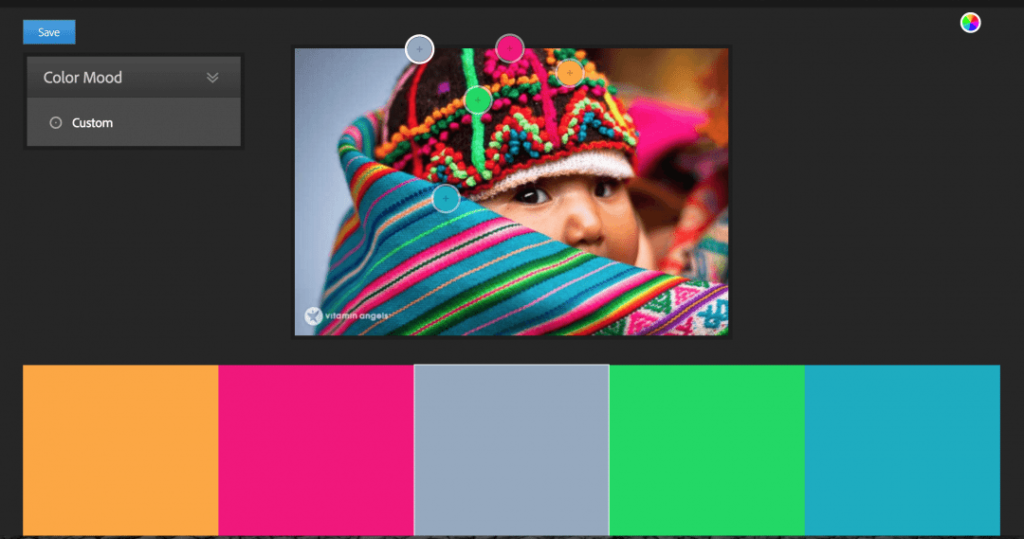
2 – The best color palette generator

My favorite color palette trick? Adobe Kuler image select tool! Seriously, if you’re not sure where to start, this is for you.

How it works:

Upload a picture and Adobe will create a palette of colors from this image.

Why it’s awesome? Because after browsing color palettes on the internet for hours it’s easy to become color blind and to forget what mood/message/vibe we wanted to communicate with our palette in the first place.

This solves the problem because you are able to go and select an image that defines your brand and your products and that would attract your ideal customer, and let Adobe come up with a color palette for you.

So let’s say you sell soft furnishing inspired by Latin American cultures and patterns/fabrics. You might type into google “peru colors” and find this beautiful picture of a little boy. Upload it into Adobe Kuler, and this is what you will get:

Awesome? Heck yes! Of course, you can adjust the colors yourself or by changing the “color mood” but that’s about it! How cool is this?

Fonts

A lot could be said about fonts and typography here, but to keep it simple I am going to stick to 2 key tips:

  • don’t use a free font for your logo,
  • and keep it simple for your ‘copy’ fonts.

1 – Your logo font

Free fonts are great but everyone is using the same ones and it gets in the way of creating a branding that is unique to your business and your story. Your brand is one of a kind, the font you use for your logo needs to be unique too. You don’t need to spend hundreds of dollars on it, Creative Market (again I know! and this isn’t even an affiliate link, I just love it so much) offers great fonts, professionally designed, around the $15 mark. That’s the price of 3 frappuccinos. Cheap, and much more professional than a free font. Trust me, this is the way to go.

Quick tip: when browsing for fonts on Creative market, scroll down to the bottom of the page and you’ll be able to type in your shop’s name to test the font before buying it.

2 – Other fonts

When it comes to what I call your ‘copy’ fonts (paragraph, headings, etc.) my rule is: keep it simple.

Your fonts have to read easily on print, online, in small sizes for mobile screens and business cards, and bigger sizes for your packaging and website for example.

Simple fonts always win over fancy, overcomplicated typefaces.

No need to spend money on anything here, instead I recommend you head over to Font Squirrel or stick to Google free fonts. Google fonts have quickly become an accepted standard in web design and therefore are generally available directly from your website builder (such as WordPress or Shopify). This can make your life much easier than if you were to use a custom (non-google) font on your website.

Print & Packaging

1 – Print Design

The best way to figure out what printed elements you need to have for your brand is to ask yourself this simple question: “what are the key touch-points between my brand and my customers?”. Depending on what type of handmade business model your shop fits in, it could mean different things. Here is what I mean:

If you sell mostly at craft fairs and markets, but also have an Etsy shop, then business cards are a great way to redirect potential customers you’ve met at live events toward your online shop.

On the other end of the spectrum, if you only sell online, a business card serves no real purpose. Instead, you could think of getting vouchers printed and insert them in your packaging to turn your customers into repeat customers.

When it comes to getting it done, I highly recommend Moo for all your print needs. Number #2 would beVistaprint. Both have great customer support, and allow you to use their online editor to make your own designs directly on their website, from your own graphics or using their pre-made templates.

No need for any design software, they’ve got it all covered for you in a really easy to use interface.


2 – Packaging on a budget

Packaging your handmade products in a professional and creative way can make the difference between “craft store” and “designer store” in your customers’ heads. It shows professionalism, attention to detail, and help you share your brand story all the way to your customers living room when they unbox their parcels.

To help you with it, I created a guide to help create an unforgettable unboxing experience. It will guide you through everything you need to know about packaging your handmade products.

Don’t forget to check out the lesson’s resources and checklist!

see you tomorrow for lesson 10

want more?